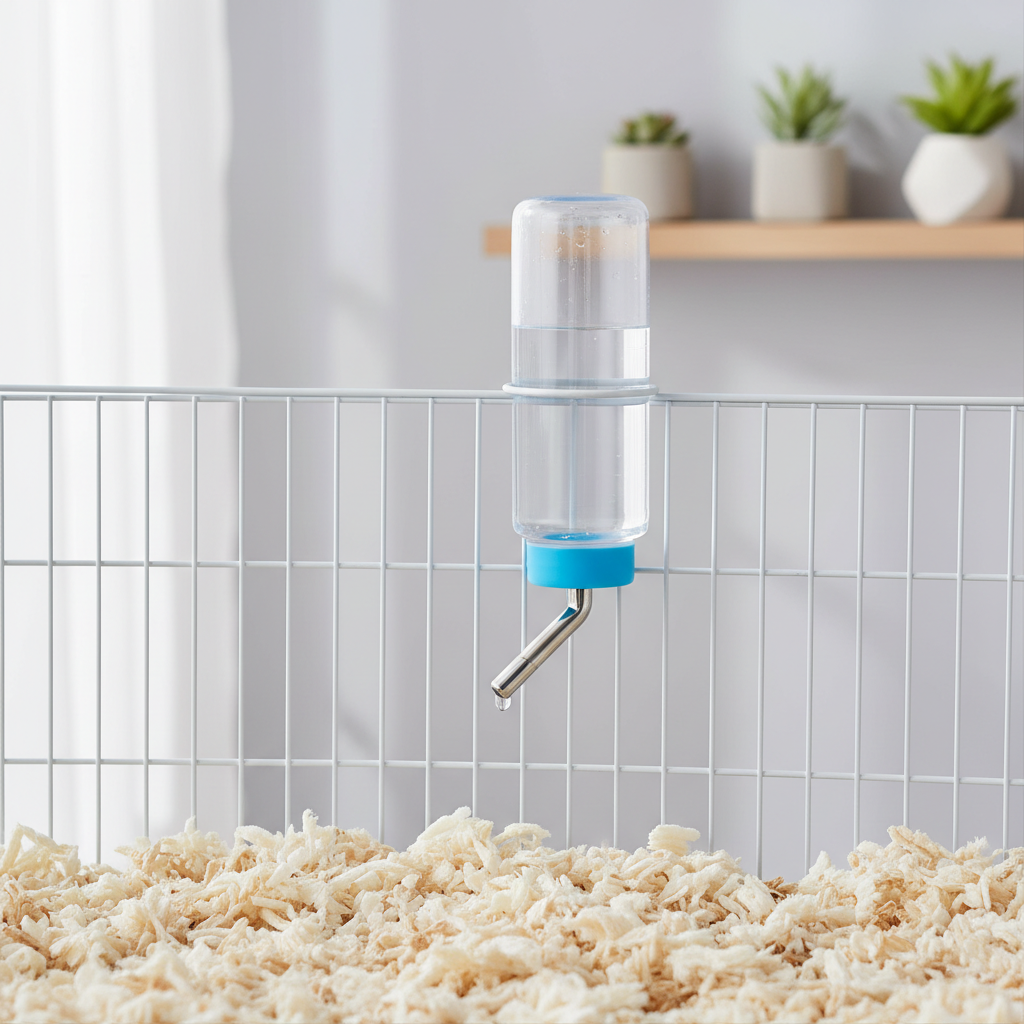
Rabbit water bottle no drip sounds simple, but if you have ever found damp bedding, rusty bars, or a wet chin on your rabbit, you already know how annoying “almost leak-proof” can be.
The good news is most dripping comes from a few predictable causes: poor ball-bearing alignment, air pressure issues, mineral buildup, or a bottle that simply does not match your setup. Once you know what you are looking at, you can usually fix it fast or choose a better bottle with fewer headaches.
This guide breaks down why bottles drip, how to test whether the bottle or the setup causes the leak, and what features genuinely matter when shopping for a no-drip option. I will also add a quick comparison table and a short setup routine that helps prevent the “mystery drip” problem.
Why rabbit water bottles drip (and why it feels random)
Most “leaks” are not dramatic, they are slow drips that look like nothing until you notice a wet corner in the litter area. In many cases, it is not a defect, it is a tolerance issue: small gaps around the valve let water creep out.
- Ball bearing not sealing: The metal ball should sit perfectly against its seat, but tiny burrs, wear, or misalignment can leave a micro-gap.
- Vacuum or pressure imbalance: Bottles rely on air exchange; if the seal, cap, or tube geometry traps pressure oddly, you can get intermittent dripping.
- Mineral scale and residue: Hard water leaves deposits that keep the ball from seating cleanly, especially around the tip.
- Mounting angle: If the bottle tilts, the water level presses differently on the valve, and “no drip” turns into “slow drip.”
- Chewing or tip damage: Rabbits are persistent, and a slightly deformed tip can drip even if the bottle looks fine.
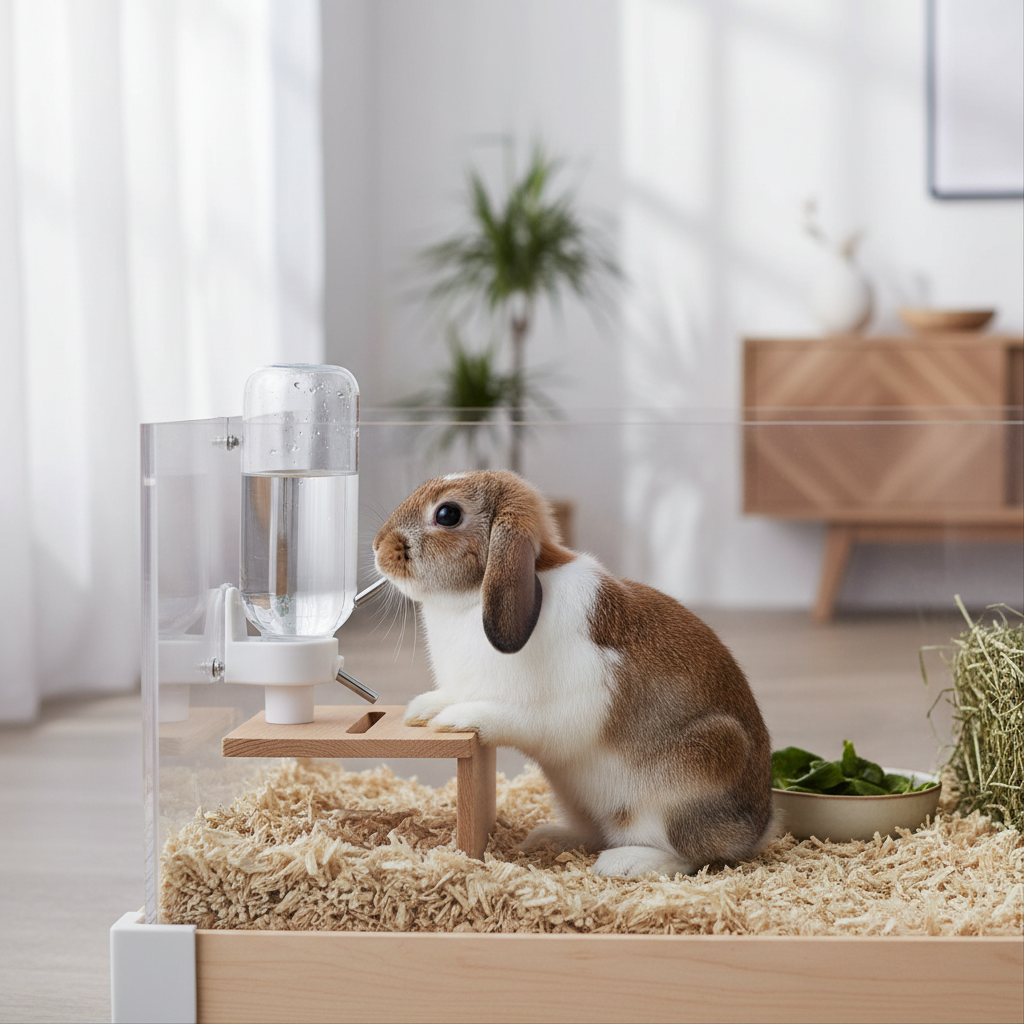
According to the American Veterinary Medical Association (AVMA), clean water access matters for overall health, which is why a reliable delivery method is worth getting right rather than accepting daily mess.
Quick self-check: is it the bottle, the mount, or your rabbit?
Before you replace anything, run a short test. It saves money and usually reveals the real culprit.
5-minute drip diagnosis
- Paper towel test: Fill the bottle, mount it, then wrap a dry paper towel under the tip for 10 minutes. One or two dots can be normal during settling, steady wetting is not.
- Angle check: Look from the side. The tube should be slightly angled upward inside the cage so the ball rests in the seat, not hanging loose.
- Cap and gasket check: Twist the cap firmly, then wipe the cap area. Moisture near the threads suggests a seal issue, not the tip.
- Tip tap test: Gently tap the ball with a clean spoon handle; if it sticks, you likely have residue or a rough seat.
- Rabbit behavior: Some rabbits “play” with the sipper, causing splashing that looks like a leak. Watch for a minute, it is surprisingly common.
If your rabbit water bottle no drip problem appears only after a day or two, buildup is a frequent reason, if it happens immediately after filling, it is often pressure or seating.
What “no drip” really means when shopping
“No drip” on packaging usually means the valve design aims to reduce passive dripping, not that it can never release a drop. Real-world performance depends on manufacturing tolerances, how your rabbit drinks, and how you mount it.
Features that tend to matter more than marketing
- Double-ball or improved valve design: Some tips add an extra bearing or a tighter seat, which can reduce seepage.
- Replaceable sipper tube: Lets you swap the wear-prone part instead of replacing the whole bottle.
- Stable mounting system: A solid spring/clip mount that prevents the bottle from rotating often reduces drip complaints.
- Dishwasher-safe body (top rack): Easier cleaning means less residue, fewer sticking balls, fewer drips.
- Clear volume markings: Not about leaks, but it helps you track intake, which can be useful if health issues come up.
If you are comparing two similar options, I would prioritize valve consistency and mount stability over “extra-large capacity,” because a huge bottle that slowly leaks still makes more mess.
Comparison table: common bottle types and leak risk
There is no single perfect choice for every setup, but this overview helps you pick with fewer surprises.
| Type | Typical pros | Common leak causes | Best for |
|---|---|---|---|
| Classic ball-bearing bottle | Easy to find, affordable | Mineral buildup, worn seat, tilt | Most cages, frequent cleaners |
| “No-drip” valve / tighter seal bottle | Less passive dripping in many setups | Pressure quirks, sensitivity to mounting angle | People tired of damp bedding |
| Glass bottle with metal tip | Resists odors, easy to sanitize | Seal at cap, heavier weight shifts mount | Households focused on hygiene |
| Bowl (heavy crock) instead of bottle | Natural drinking posture | Spills, hay and litter contamination | Supervised areas, tidy rabbits |
Many rabbit owners keep both a bottle and a crock for flexibility, but if you are committed to a bottle, a well-made valve plus a firm mount usually gets you closest to the “rabbit water bottle no drip” expectation.
Fixes that help right away (without buying a new bottle)
Some fixes are almost boring, but they work because they address the mechanics of the drip, not the symptoms.
Step-by-step: reduce dripping in 10–15 minutes
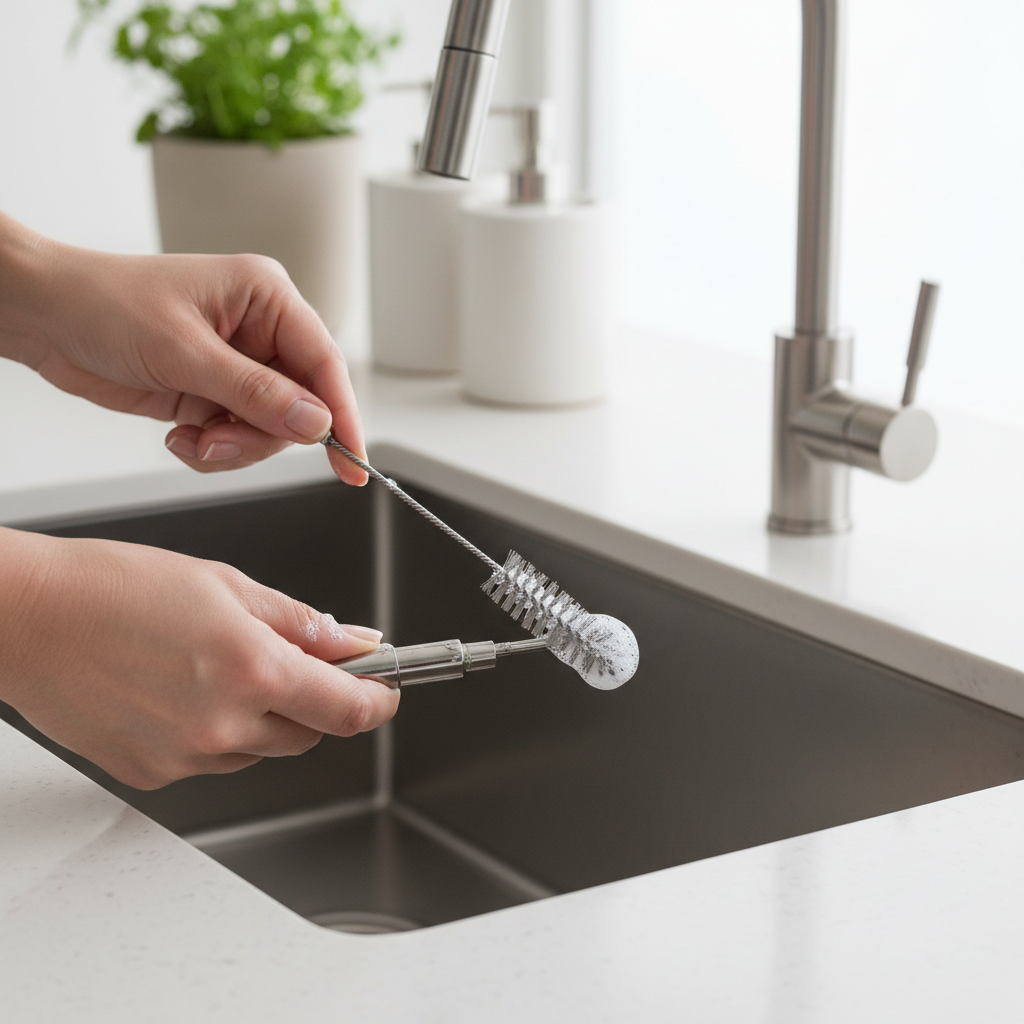
- Deep clean the sipper: Soak the metal tip in warm water, then use a small brush. If you use soap, rinse until no scent remains.
- Flush the valve: Fill, attach cap, then invert and tap the ball a few times to clear bubbles and help it seat.
- Re-mount level and stable: Tighten the holder so the bottle cannot rotate when your rabbit nudges it.
- Check the cap seal: If the bottle uses a rubber gasket, inspect for cracks or flattening. A tired gasket can mimic a “leaky tip.”
- Control minerals: If you have hard water, more frequent cleaning often beats changing products. Some people use filtered water; outcomes vary by home.
One practical tip: after filling, wipe the tip dry, wait two minutes, then wipe again. If the second wipe is wet, you have active seepage, if it stays dry, earlier drops were likely just settling.
Common mistakes that keep the drip going
People often do “more” when the smarter move is to do one thing correctly. These are the patterns that waste time.
- Over-tightening the cap: It can warp threads or pinch a gasket in a way that creates a micro-leak near the cap.
- Ignoring mounting angle: A slightly tilted bottle can drip all day, especially when it is very full.
- Using abrasive tools on the ball seat: Scratching the metal where the ball seals can make dripping worse over time.
- Assuming “no drip” means zero drops: A small drop right after refilling can be normal, the goal is stopping ongoing wet bedding.
- Not checking for chewing: If your rabbit chews the tip or yanks the bottle, you may need a different mounting position or a protective guard.
When to consider switching to a different setup
If you have tried cleaning, leveling, and seal checks and you still see steady dripping, replacement can be reasonable. Some bottles simply have inconsistent valves, and chasing tiny leaks becomes a weekly chore.
Switch or upgrade if you notice any of these
- Persistent damp bedding under the tip even after cleaning and remounting
- Visible damage or roughness on the metal tip
- Cap area stays wet, suggesting a failing gasket or poor threading
- Your rabbit drinks awkwardly or seems to struggle, which may reduce intake
Also consider a heavy ceramic bowl if your rabbit consistently prefers it and you can keep it clean. According to the House Rabbit Society, rabbits should have constant access to fresh water, and some do better with bowls, though spill risk increases.
Key takeaways (so you can stop thinking about this)
- Most drips come from valve seating, pressure, residue, or angle, not mystery defects.
- A “no drip” label usually means reduced seepage, you still need proper mounting and cleaning.
- If you want the most reliable result, focus on valve design + stable mount + easy cleaning.
- When wet bedding keeps returning, switching bottles or trying a bowl can be more efficient than endless tweaks.
If your goal is a rabbit water bottle no drip setup, start with the 5-minute diagnosis, then fix angle and residue before you spend money. You will know quickly whether you need a better bottle or just a better setup.
FAQ
Why does my “no-drip” rabbit bottle still drip after refilling?
A few drops right after filling can happen while pressure equalizes and the ball reseats. If it continues for hours, it is more likely residue, a tilted mount, or a worn valve seat.
How do I know if the leak comes from the cap instead of the sipper tube?
Dry the entire bottle, then watch where moisture returns first. Wetness around threads or the bottle neck points to the cap seal, wetness only at the tip points to the valve.
Is a water bowl safer than a bottle for rabbits?
It depends on the rabbit and the environment. Bowls can support natural drinking posture, but they get contaminated and spilled more easily. If you are unsure, a veterinarian or rabbit-savvy rescue can help you choose.
Can hard water cause dripping in rabbit bottles?
Yes, mineral deposits can keep the ball from sealing cleanly. More frequent cleaning often helps, and some households find filtered water reduces buildup, though results vary by area.
My rabbit keeps making the bottle leak by playing with it, what can I do?
Try repositioning the bottle so it sits at a comfortable height, and tighten the mount so it cannot rotate. If the behavior continues, a heavy crock in a controlled area can reduce mess.
How often should I clean a rabbit water bottle to prevent leaks?
Many owners do a light rinse daily and a deeper clean weekly, but frequency depends on water quality and how quickly residue builds. If you see sticking, clean sooner.
What size bottle works best for preventing drips?
Size does not directly prevent leaks, but very large bottles can shift and tilt more if the mount is weak. Choose a size your mount can hold steady and that you can clean easily.
If you are tired of trial-and-error and want a more predictable setup, it can help to pick a bottle designed around a tighter valve and a sturdier mounting system, then pair it with a simple cleaning routine so “leak-proof” stays true in daily use.